

Easy HTML and CSS Projects for Web Design Beginners
Hey there, folks! If you're just starting out in web design, there's nothing better than diving into some hands-on HTML and CSS projects. These are the building blocks of the web, and practicing with them helps you understand how pages come together. I've been tinkering with code for years now, back when I was in college in Jamshedpur, and let me tell you, starting simple is the key. In this post, we'll explore a bunch of easy HTML and CSS projects that anyone can try. Whether you're a student, a hobbyist, or someone looking to switch careers, these projects will boost your confidence and skills.
Why focus on HTML and CSS projects? Well, HTML gives structure to your content, like the skeleton of a building, while CSS adds the style – colors, layouts, and that polished look. No fancy JavaScript needed here; we're keeping it basic. By the end, you'll have a portfolio of small sites you can show off. Let's get into it, step by step. I'll explain everything in plain terms, with code examples you can copy and tweak.
What You Need to Get Started with HTML and CSS Projects
Before we jump into the projects, let's talk basics. You'll need a text editor like Notepad++ or VS Code – free and easy to use. A web browser like Chrome to test your work. That's it! Save your files as .html and .css, link them, and you're good. For example, in your HTML file, add <link rel="stylesheet" href="styles.css"> in the head section.
These HTML and CSS projects are designed for beginners, so don't worry if things look messy at first. Practice makes perfect. Each one builds on the last, teaching you layout, colors, fonts, and responsiveness.
Project 1: Build a Simple Personal Homepage
Let's start with something personal – a homepage about yourself. This is one of the easiest HTML and CSS projects to begin with. It teaches you headings, paragraphs, images, and basic styling.
First, create an index.html file. Add the basic structure:
<!DOCTYPE html>
<html lang="en">
<head>
    <meta charset="UTF-8">
    <title>My Personal Homepage</title>
    <link rel="stylesheet" href="styles.css">
</head>
<body>
    <header>
        <h1>Welcome to My World</h1>
    </header>
    <section>
        <h2>About Me</h2>
        <p>Hi, I'm Bhavesh from Jamshedpur. I love coding and cricket.</p>
        <img src="your-photo.jpg" alt="My Photo">
    </section>
    <footer>
        <p>Contact me at example@email.com</p>
    </footer>
</body>
</html>
Now, for styles.css:
body {
    font-family: Arial, sans-serif;
    background-color: #f4f4f4;
    color: #333;
    margin: 0;
    padding: 20px;
}

header {
    text-align: center;
    background-color: #4CAF50;
    color: white;
    padding: 10px;
}

h2 {
    color: #4CAF50;
}

img {
    width: 200px;
    border-radius: 50%;
}
Open it in your browser – voila! A simple page. Play around with colors and add more sections like hobbies or skills. This project helps you grasp semantic HTML tags like header and section.
To make it responsive, add media queries:
@media (max-width: 600px) {
    body {
        padding: 10px;
    }
    img {
        width: 100%;
    }
}
In my experience, this was my first project, and it hooked me. You can expand it by adding links to social media. Total time: 30 minutes.

Image credit: 21 Best Personal Websites (Examples) 2026 - Colorlib, from https://colorlib.com/wp/personal-websites/.
Project 2: Create a Tribute Page
Next up in our list of HTML and CSS projects is a tribute page. Dedicate it to someone you admire, like a historical figure or a movie star. This builds on the first project, adding lists and more styling.
HTML structure:
<!DOCTYPE html>
<html lang="en">
<head>
    <meta charset="UTF-8">
    <title>Tribute to Mahatma Gandhi</title>
    <link rel="stylesheet" href="styles.css">
</head>
<body>
    <main id="main">
        <h1 id="title">Mahatma Gandhi</h1>
        <div id="img-div">
            <img id="image" src="gandhi.jpg" alt="Mahatma Gandhi">
            <p id="img-caption">Father of the Nation</p>
        </div>
        <section id="tribute-info">
            <h2>Timeline</h2>
            <ul>
                <li>1869: Born in Porbandar</li>
                <li>1948: Assassinated</li>
            </ul>
        </section>
        <a id="tribute-link" href="https://en.wikipedia.org/wiki/Mahatma_Gandhi" target="_blank">Learn More</a>
    </main>
</body>
</html>
CSS:
body {
    background-color: #eee;
    font-family: 'Segoe UI', Tahoma, Geneva, Verdana, sans-serif;
    text-align: center;
}

#img-div {
    background: white;
    padding: 10px;
    margin: 0 auto;
    width: 80%;
}

#image {
    max-width: 100%;
    height: auto;
    display: block;
    margin: 0 auto;
}

ul {
    max-width: 550px;
    margin: 0 auto;
    text-align: left;
}

a {
    color: blue;
}
This project introduces IDs for specific styling and external links. Make the image responsive with max-width. It's inspired by freeCodeCamp challenges, but you can theme it around anyone.
Add hover effects:
a:hover {
    color: red;
}
This one's fun because it's storytelling through code. Spend an hour, and you'll have a neat page.

Image credit: Build A FreeCodeCamp Tribute Page | Responsive Web Design Projects | by using only HTML & CSS, from https://www.youtube.com/watch?v=BtExsVNopCs.
Project 3: Design a Survey Form
Forms are essential in web design, so let's tackle a survey form as our next HTML and CSS project. This teaches input fields, labels, and form styling.
HTML:
<!DOCTYPE html>
<html lang="en">
<head>
    <meta charset="UTF-8">
    <title>Survey Form</title>
    <link rel="stylesheet" href="styles.css">
</head>
<body>
    <h1 id="title">Customer Feedback Survey</h1>
    <p id="description">Help us improve!</p>
    <form id="survey-form">
        <label id="name-label" for="name">Name:</label>
        <input id="name" type="text" placeholder="Enter your name" required>

        <label id="email-label" for="email">Email:</label>
        <input id="email" type="email" placeholder="Enter your email" required>

        <label id="number-label" for="number">Age:</label>
        <input id="number" type="number" min="18" max="99" placeholder="Age">

        <label>Which option best describes you?</label>
        <select id="dropdown">
            <option>Student</option>
            <option>Professional</option>
        </select>

        <label>Would you recommend us?</label>
        <input type="radio" name="recommend" value="yes"> Yes
        <input type="radio" name="recommend" value="no"> No

        <label>Favorite Features:</label>
        <input type="checkbox" value="design"> Design
        <input type="checkbox" value="speed"> Speed

        <label>Comments:</label>
        <textarea id="comments" rows="4"></textarea>

        <button id="submit" type="submit">Submit</button>
    </form>
</body>
</html>
CSS:
body {
    background: linear-gradient(135deg, #f5f7fa, #c3cfe2);
    font-family: sans-serif;
    padding: 20px;
}

form {
    max-width: 500px;
    margin: 0 auto;
    background: white;
    padding: 20px;
    border-radius: 8px;
}

label {
    display: block;
    margin-top: 10px;
}

input, select, textarea {
    width: 100%;
    padding: 8px;
    margin-top: 5px;
    box-sizing: border-box;
}

button {
    background: #4CAF50;
    color: white;
    border: none;
    padding: 10px;
    width: 100%;
    margin-top: 20px;
    cursor: pointer;
}
This project covers form elements and validation like required. Style it to look professional. Test by filling it out – though it won't submit anywhere yet.
To enhance, add focus styles:
input:focus {
    border: 2px solid #4CAF50;
}
Great for learning user interaction. Time: 45 minutes.
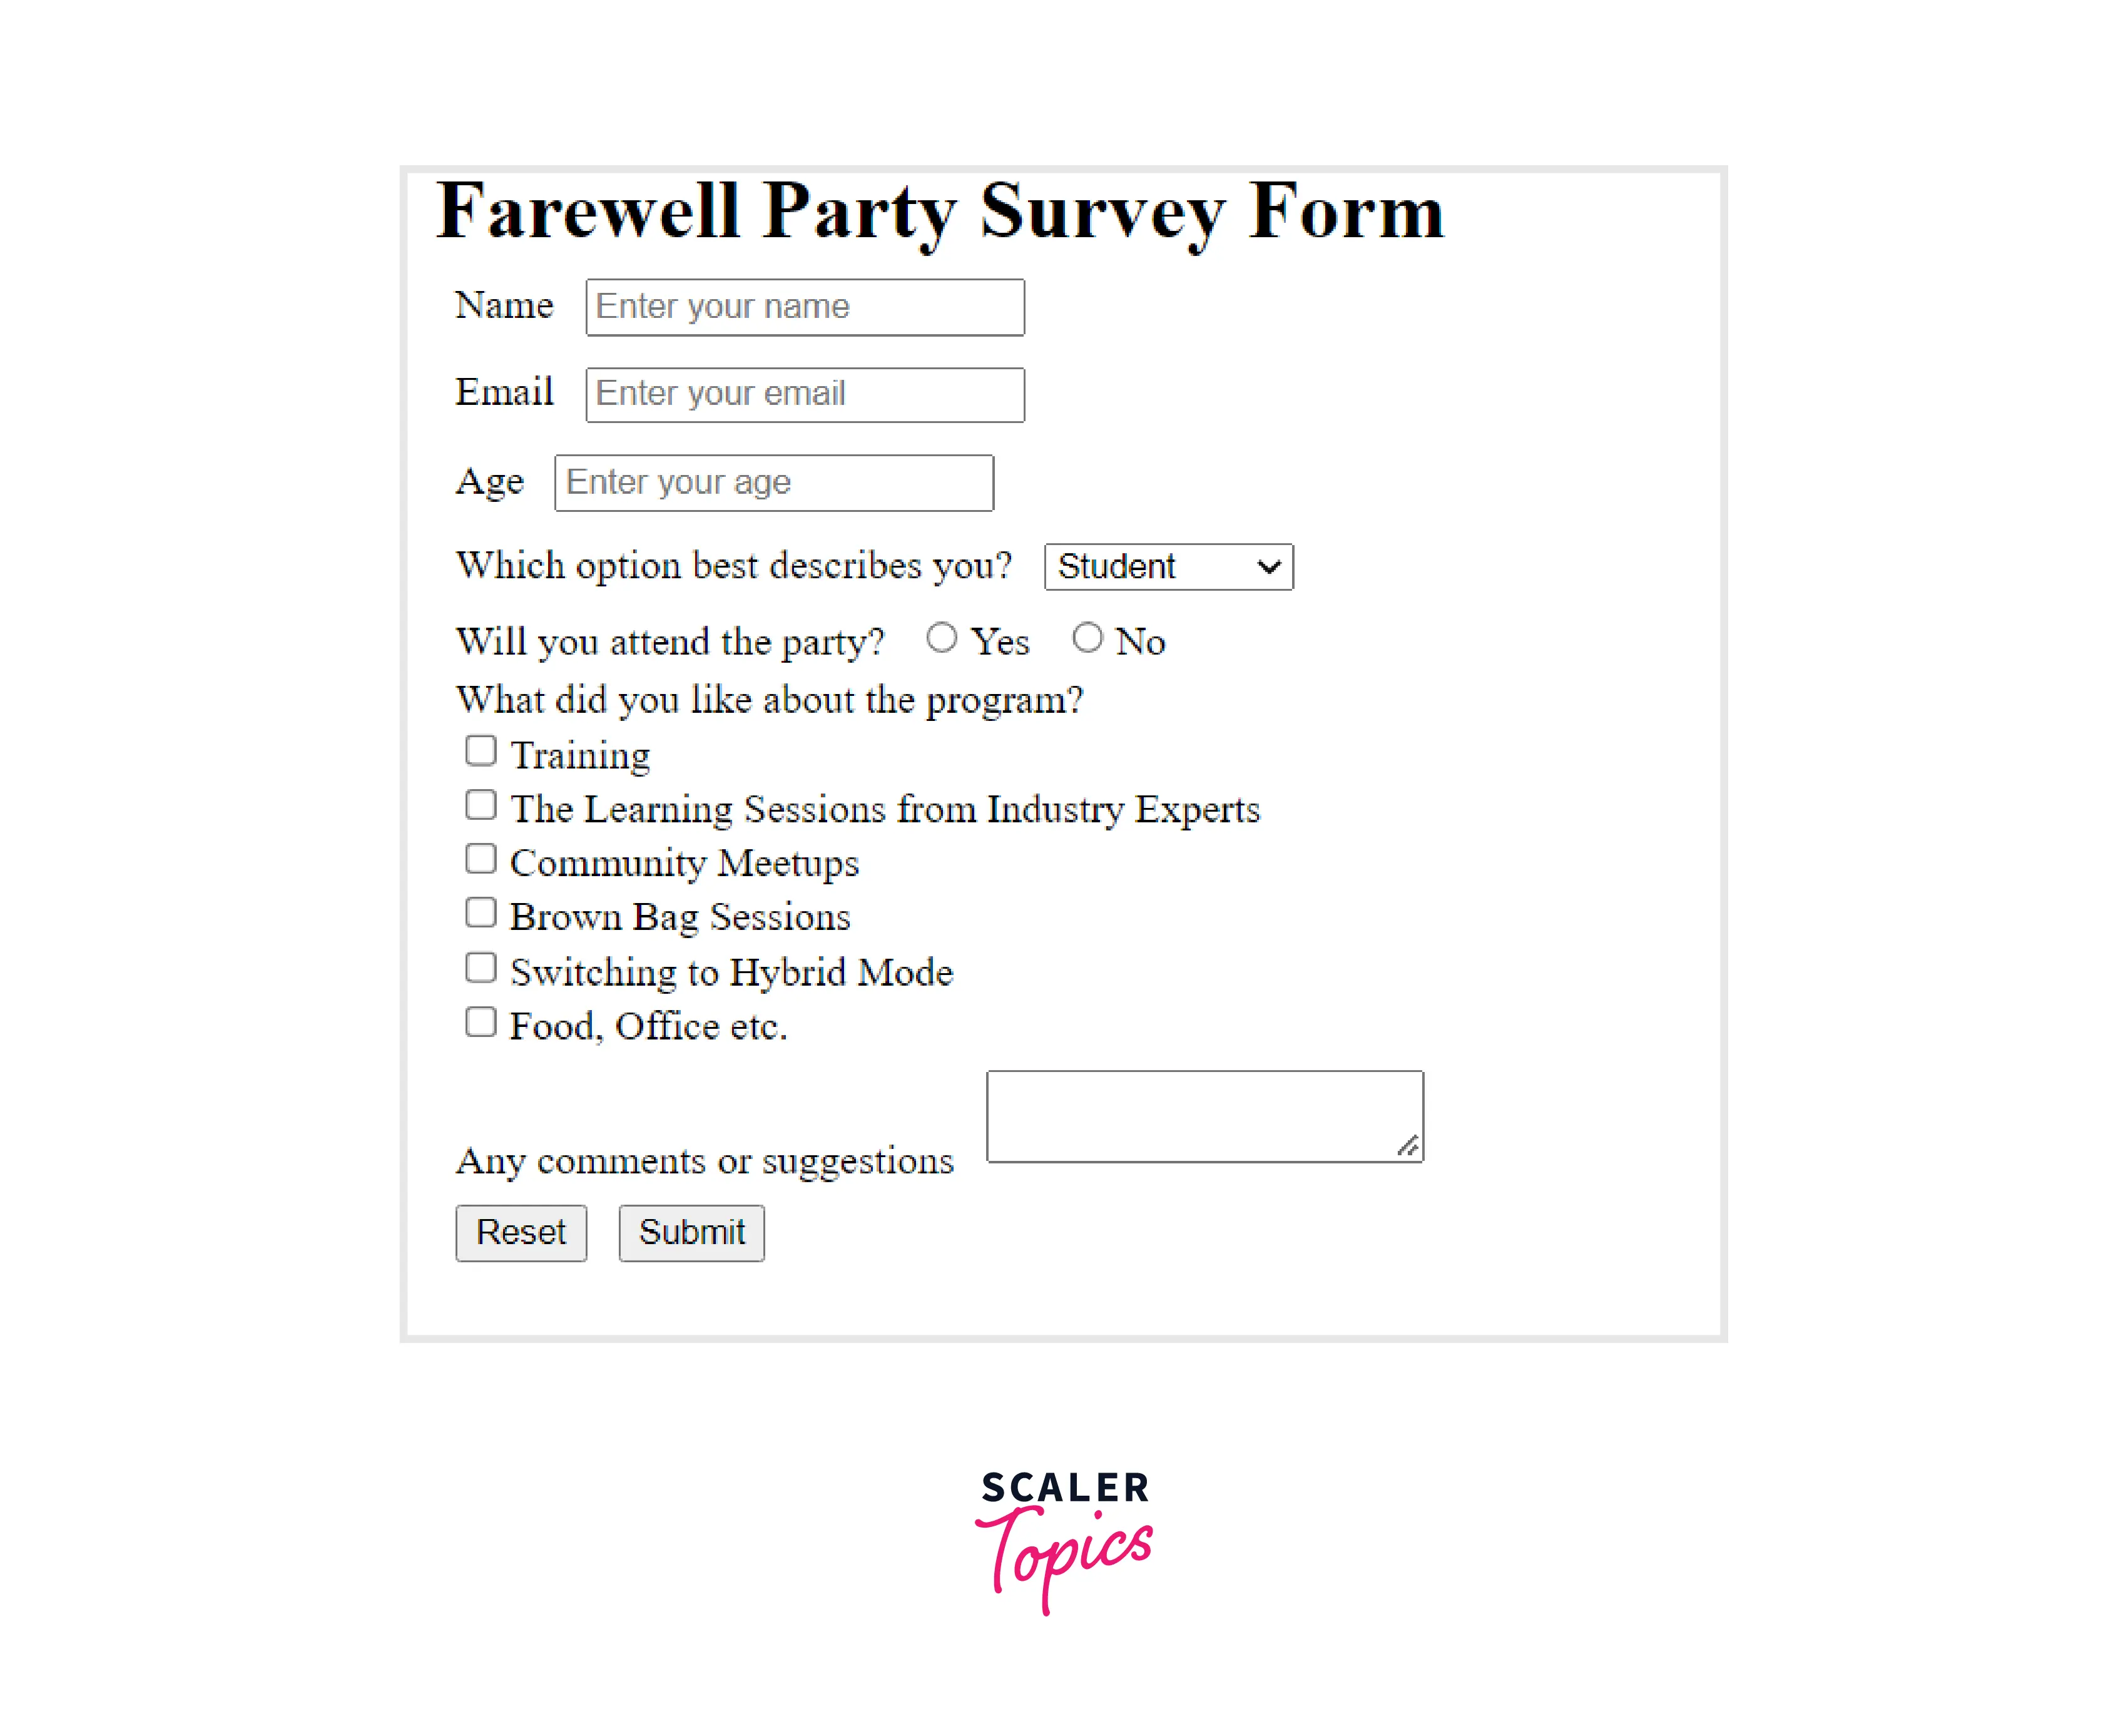
Image credit: Building a Survey Form Using HTML - HTML Projects | Scaler Topics, from https://www.scaler.com/topics/survey-form-project-html/.
Project 4: Craft a Product Landing Page
Now, let's move to a product landing page, a classic among HTML and CSS projects. Imagine selling a gadget or service.
HTML:
<!DOCTYPE html>
<html lang="en">
<head>
    <meta charset="UTF-8">
    <title>Awesome Headphones</title>
    <link rel="stylesheet" href="styles.css">
</head>
<body>
    <header id="header">
        <img id="header-img" src="logo.png" alt="Logo">
        <nav id="nav-bar">
            <a class="nav-link" href="#features">Features</a>
            <a class="nav-link" href="#how-it-works">How It Works</a>
            <a class="nav-link" href="#pricing">Pricing</a>
        </nav>
    </header>
    <section id="hero">
        <h1>Best Headphones Ever</h1>
        <form id="form" action="https://www.freecodecamp.com/email-submit">
            <input id="email" type="email" placeholder="Enter email" required>
            <button id="submit" type="submit">Get Started</button>
        </form>
    </section>
    <section id="features">
        <h2>Features</h2>
        <p>Noise cancelling, long battery.</p>
    </section>
    <section id="how-it-works">
        <iframe id="video" width="560" height="315" src="https://www.youtube.com/embed/yourvideo"></iframe>
    </section>
    <section id="pricing">
        <div class="price-box">
            <h3>Basic</h3>
            <p>$99</p>
        </div>
    </section>
</body>
</html>
CSS:
#header {
    position: fixed;
    top: 0;
    width: 100%;
    background: #333;
    color: white;
    display: flex;
    justify-content: space-between;
    padding: 10px;
}

#nav-bar a {
    color: white;
    margin: 0 10px;
    text-decoration: none;
}

#hero {
    text-align: center;
    margin-top: 60px;
}

#form {
    margin: 20px;
}

.price-box {
    border: 1px solid #ddd;
    padding: 20px;
    margin: 10px;
    text-align: center;
}
This introduces fixed navigation and iframes. Make it scroll smoothly with anchor links.
Add flexbox for layout:
#pricing {
    display: flex;
    justify-content: space-around;
}
Perfect for marketing skills. Time: 1 hour.
Image credit: Building a Landing Page Using HTML and CSS - CSS Projects | Scaler ..., from https://www.scaler.com/topics/landing-page-project-css/.
Project 5: Technical Documentation Page
For tech enthusiasts, a documentation page is a solid HTML and CSS project. Like a wiki for a topic.
HTML:
<!DOCTYPE html>
<html lang="en">
<head>
<meta charset="UTF-8">
<title>HTML Documentation</title>
<link rel="stylesheet" href="styles.css">
</head>
<body>
<nav id="navbar">
<header>HTML Docs</header>
<a class="nav-link" href="#introduction">Introduction</a>
<a class="nav-link" href="#elements">Elements</a>
<!-- More links -->
</nav>
<main id="main-doc">
<section class="main-section" id="introduction">
<header>Introduction</header>
<p>HTML is...</p>
<code><html></code>
<ul>
<li>Item 1</li>
</ul>
</section>
<!-- More sections -->
</main>
</body>
</html>CSS:
#navbar {
    position: fixed;
    left: 0;
    top: 0;
    width: 300px;
    height: 100%;
    background: #f0f0f0;
    padding: 10px;
}

#main-doc {
    margin-left: 310px;
    padding: 20px;
}

@media (max-width: 800px) {
    #navbar {
        position: static;
        width: auto;
    }
    #main-doc {
        margin-left: 0;
    }
}
This teaches side navigation and code blocks. Add 5-6 sections for depth.
Useful for organizing info. Time: 1 hour.

Image credit: Technical Documentation Page - Build a Technical Documentation ..., from https://forum.freecodecamp.org/t/technical-documentation-page-build-a-technical-documentation-page-2iympzjnqsfepd3xlhlrl/528196.
Project 6: Responsive Image Gallery
Galleries are visual fun in HTML and CSS projects. Use grid or flex for layout.
HTML:
<!DOCTYPE html>
<html lang="en">
<head>
    <meta charset="UTF-8">
    <title>Image Gallery</title>
    <link rel="stylesheet" href="styles.css">
</head>
<body>
    <h1>My Photo Gallery</h1>
    <div class="gallery">
        <img src="photo1.jpg" alt="Photo 1">
        <img src="photo2.jpg" alt="Photo 2">
        <!-- Add 6-8 images -->
    </div>
</body>
</html>
CSS:
.gallery {
    display: grid;
    grid-template-columns: repeat(auto-fit, minmax(200px, 1fr));
    gap: 10px;
}

img {
    width: 100%;
    height: auto;
    border-radius: 5px;
}
Simple and responsive. Add captions with figcaption.
Great for portfolios. Time: 40 minutes.
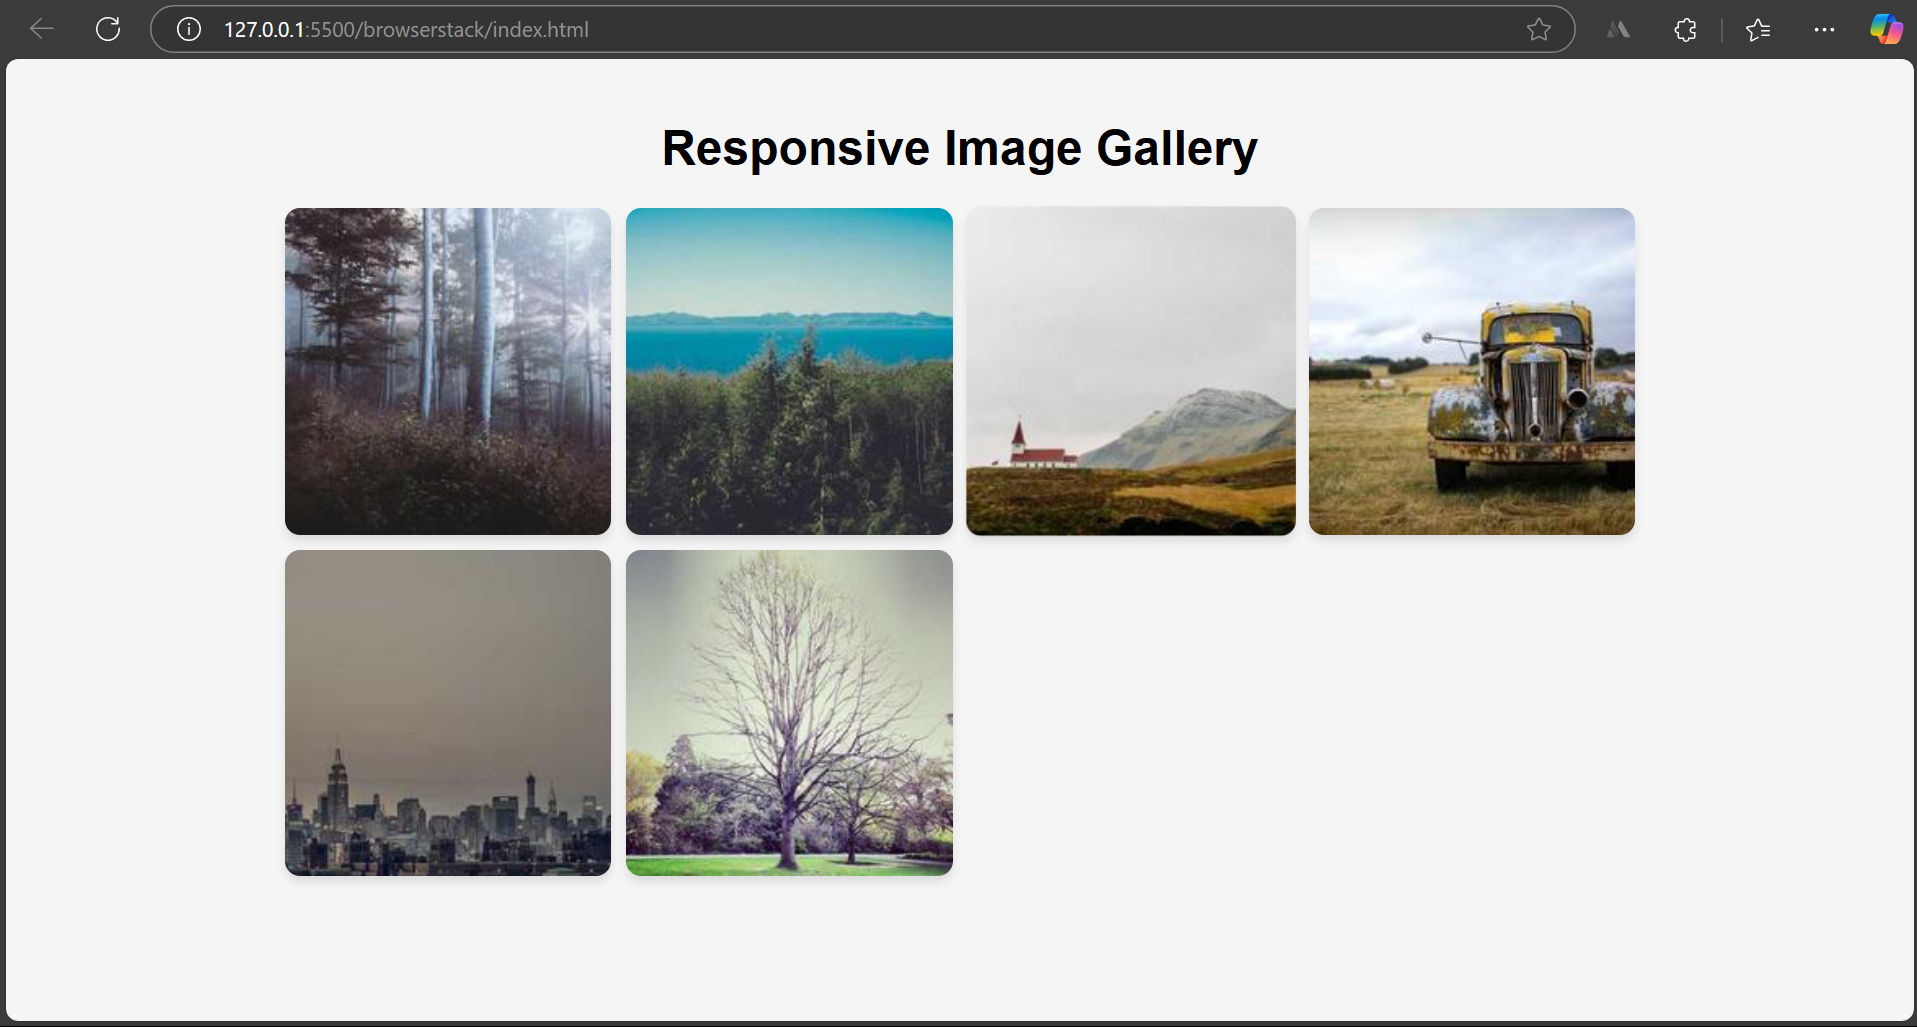
Image credit: How to Build a Responsive Image Gallery with HTML and CSS ..., from https://www.browserstack.com/guide/responsive-image-gallery-html-css.
Project 7: Stylish Navigation Menu
A standalone nav bar is a quick HTML and CSS project.
HTML:
<!DOCTYPE html>
<html lang="en">
<head>
    <meta charset="UTF-8">
    <title>Nav Menu</title>
    <link rel="stylesheet" href="styles.css">
</head>
<body>
    <nav>
        <ul>
            <li><a href="#">Home</a></li>
            <li><a href="#">About</a></li>
            <li><a href="#">Contact</a></li>
        </ul>
    </nav>
</body>
</html>
CSS:
nav ul {
    list-style: none;
    display: flex;
    background: #333;
    margin: 0;
    padding: 0;
}

nav li {
    margin: 0 10px;
}

nav a {
    color: white;
    text-decoration: none;
    padding: 14px 20px;
    display: block;
}

nav a:hover {
    background: #4CAF50;
}
Add dropdowns with nested ul.
Essential for sites. Time: 20 minutes.
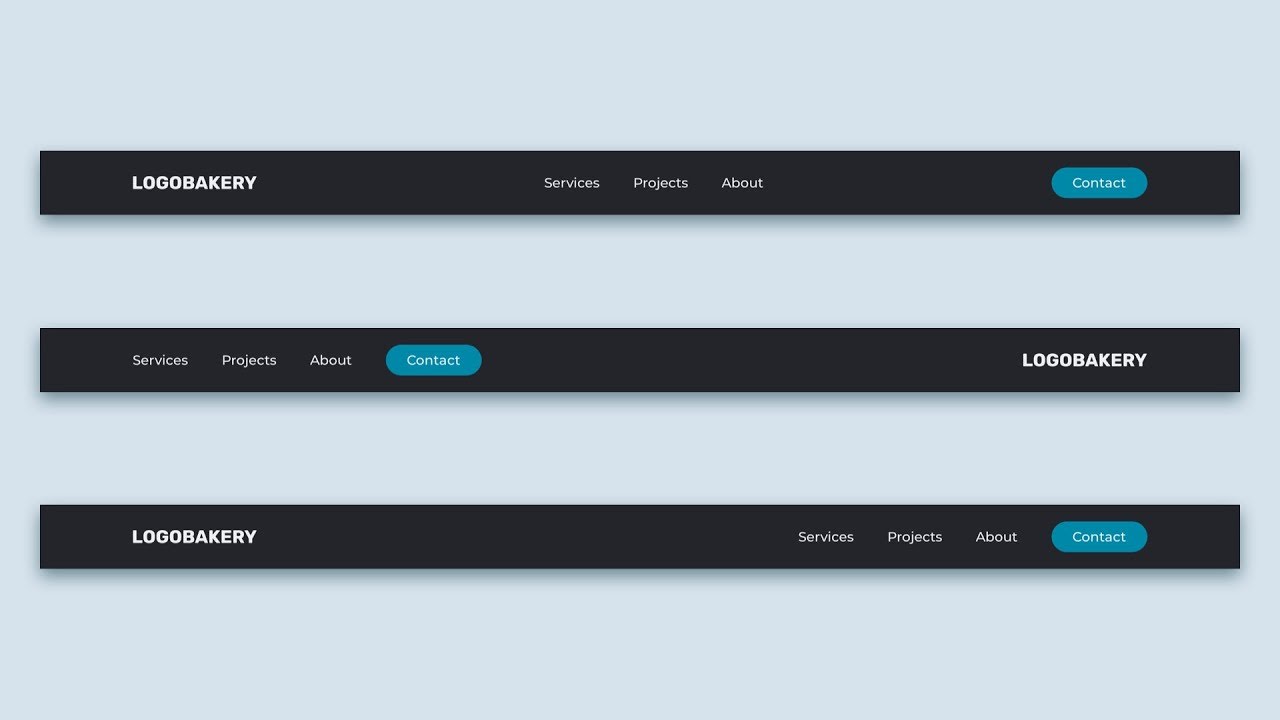
Image credit: Navbar CSS Tutorial: 3 Ways to Create a Navigation Bar with Flexbox, from https://www.youtube.com/watch?v=PwWHL3RyQgk.
Project 8: Login Form Page
Forms again, but focused on login – common in HTML and CSS projects.
HTML:
<!DOCTYPE html>
<html lang="en">
<head>
    <meta charset="UTF-8">
    <title>Login</title>
    <link rel="stylesheet" href="styles.css">
</head>
<body>
    <div class="login-container">
        <h2>Login</h2>
        <form>
            <input type="text" placeholder="Username" required>
            <input type="password" placeholder="Password" required>
            <button type="submit">Login</button>
        </form>
    </div>
</body>
</html>
CSS:
.login-container {
    max-width: 300px;
    margin: 100px auto;
    padding: 20px;
    background: #fff;
    border: 1px solid #ddd;
    border-radius: 5px;
    box-shadow: 0 0 10px rgba(0,0,0,0.1);
}

input {
    display: block;
    width: 100%;
    margin-bottom: 10px;
    padding: 10px;
    box-sizing: border-box;
}

button {
    width: 100%;
    padding: 10px;
    background: #2196F3;
    color: white;
    border: none;
}
Add eye icon for password, but pure CSS.
Time: 30 minutes.
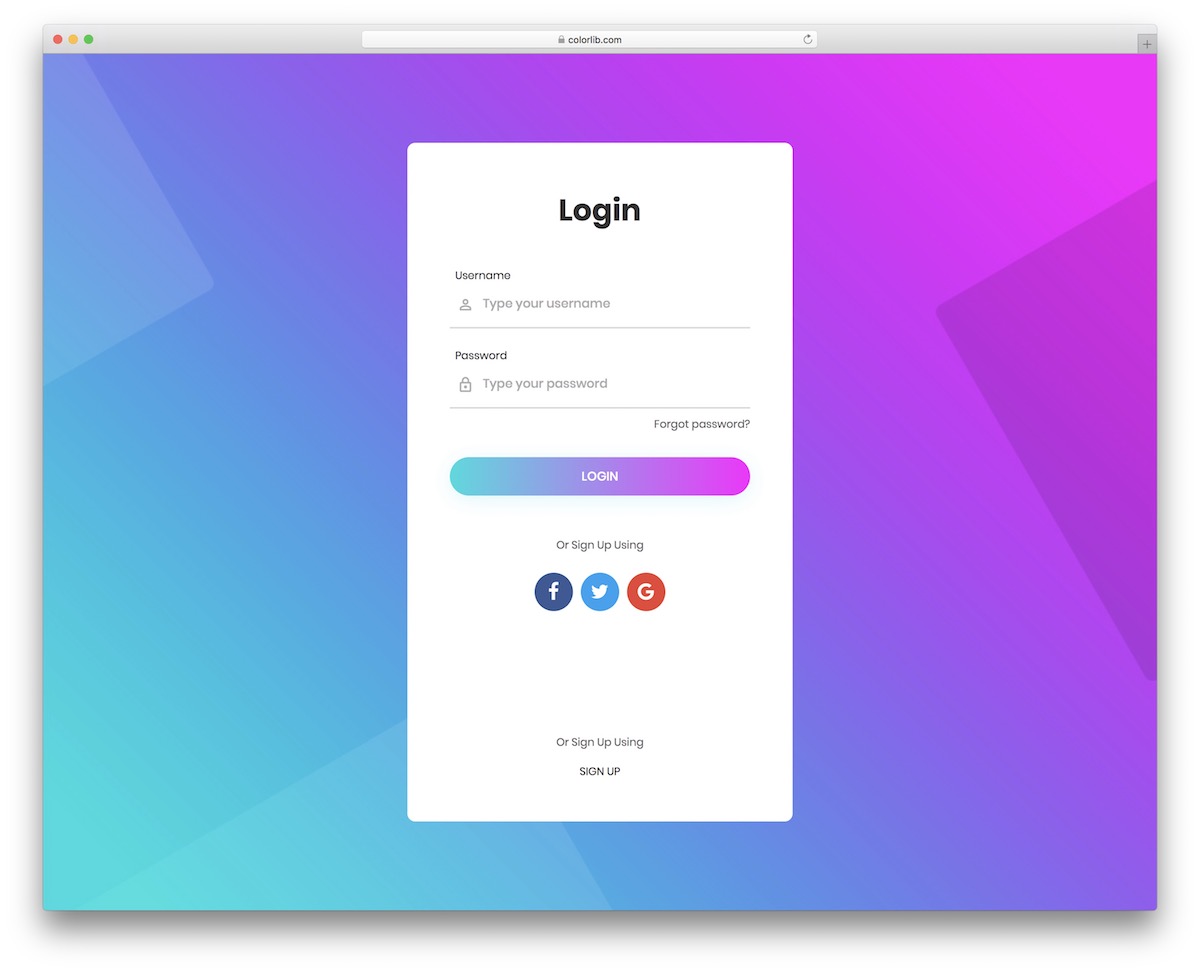
Image credit: 42 Best Free HTML5 And CSS3 Login Forms 2026 - Colorlib, from https://colorlib.com/wp/html5-and-css3-login-forms/.
Project 9: Blog Post Layout
Simulate a blog entry with HTML and CSS projects.
HTML:
<!DOCTYPE html>
<html lang="en">
<head>
    <meta charset="UTF-8">
    <title>Blog Post</title>
    <link rel="stylesheet" href="styles.css">
</head>
<body>
    <article>
        <h1>Why Learn HTML and CSS?</h1>
        <p class="meta">By Bhavesh | Jan 20, 2026</p>
        <p>Content here...</p>
        <img src="blog-image.jpg" alt="Blog Image">
        <h2>Subheading</h2>
        <p>More content...</p>
    </article>
</body>
</html>
CSS:
article {
    max-width: 800px;
    margin: 0 auto;
    padding: 20px;
}

.meta {
    color: gray;
    font-style: italic;
}

img {
    width: 100%;
    margin: 20px 0;
}
Add comments section.
Time: 45 minutes.

Image credit: How To Create A Blog Section Using HTML and CSS, from https://www.youtube.com/watch?v=WVOmmc0UTiM.
Project 10: Personal Portfolio Website
Combine everything into a portfolio – ultimate HTML and CSS project.
Structure with sections for about, projects, contact.
Use grid for project thumbnails.
This showcases all skills.
Time: 2 hours.
Image credit: portfolio-website-design · GitHub Topics · GitHub, from https://github.com/topics/portfolio-website-design.
Project 11: CSS Card Designs
Create cards for profiles or products.
HTML:
<div class="card">
    <img src="image.jpg" alt="Card Image">
    <h3>Title</h3>
    <p>Description</p>
    <a href="#">Read More</a>
</div>
CSS:
.card {
    width: 300px;
    border: 1px solid #ccc;
    border-radius: 8px;
    overflow: hidden;
    box-shadow: 0 4px 8px rgba(0,0,0,0.1);
    transition: transform 0.3s;
}

.card:hover {
    transform: scale(1.05);
}

.card img {
    width: 100%;
}
Multiple cards in a row.
Time: 25 minutes.

Image credit: Browse thousands of Css Card images for design inspiration | Dribbble, from https://dribbble.com/search/css-card.
Project 12: Responsive Footer
End with a footer project.
HTML:
<footer>
<p>© 2026 Bhavesh. All rights reserved.</p>
<ul>
<li><a href="#">Privacy</a></li>
<li><a href="#">Terms</a></li>
</ul>
</footer>CSS:
footer {
    background: #333;
    color: white;
    text-align: center;
    padding: 10px;
    position: fixed;
    bottom: 0;
    width: 100%;
}

ul {
    list-style: none;
    display: flex;
    justify-content: center;
}

li {
    margin: 0 10px;
}
Simple but useful.
Time: 15 minutes.
Image credit: Create A Responsive Footer Section in HTML and CSS, from https://www.codingnepalweb.com/create-responsive-footer-html-css-only/.
Tips for Mastering HTML and CSS Projects
- Validate your code with W3C tools.
- Use version control like Git.
- Experiment with frameworks like Bootstrap later.
- Browse sites like CodePen for inspiration.
Conclusion
There you have it – a dozen easy HTML and CSS projects to kickstart your web design journey. From personal pages to portfolios, each one builds your skills. Keep practicing, and soon you'll be creating complex sites. If you're in India like me, check local meetups for more tips. Happy coding!
FAQ
What are some easy HTML and CSS projects for beginners?
The ones above, like personal homepages and forms.
How long does it take to learn HTML and CSS?
A few weeks with daily practice.
Can I make money with HTML and CSS skills?
Yes, freelance web design.


Leave a Comment